

We recently tested out making yogurt at home.
After smoothing out our process, here is how we made it:
Here is what you will need:
- Crock Pot
- 1 Gallon Whole Milk (higher fat content the better)
- Candy or in our case meat thermometer
- 1 6-8 oz cup of Plain or Vanilla Yogurt
- 2 cup Glass Measuring Cup (not pictured)
- Large Towel
- Cheese Cloth or Coffee Filter (optional)
- Strainer & Bowl (optional)

Total Time from Start to End: 15-17 hours (don't let this intimidate you)
~4:15 P.M.
Step 1:
Pour milk into crock pot. Let the milk heat up to 180-185 degrees. This takes about 3-4 hours. I suggest not checking on it until the milk has been in the crock pot for at least 3 hours. Each time you take the lid off a lot of heat will escape which will just prolong this step.
Time to Allot for Step 1: 3-4 hours

~7:00 P.M
Step 2:
When the temperature has reached 180-185 degrees, turn the crock pot off. Take the stoneware part out and set on a towel or multiple pot holders. The milk now has to cool off to 115-120 degrees. I suggest stirring every once in a while (every 10-20 minutes) to let more heat escape. You can also tilt the lid just a little to help with the cool down process. Do not remove the lid completely as a film will form on the top.
Time to Allot for Step 2: 1.5-2 hours

~8:30 P.M. (time varies with how much you stir during the previous step)
Step 3:
When the temperature has reached 115-120 degrees, ladle out 1-2 cups of milk into a glass measuring cup. (At this point, turn your oven on to warm or 100-125 degrees.) Stir the 6-8 oz cup of yogurt into the milk. Continue stirring until all lumps are dissolved. Then, pour back into the crock pot. Stir thoroughly.
Note: Instead of buying a 6-8 oz cup the second time you make it, just save some of your homemade yogurt to use.
Time to Allot for Step 3: 5-10 minutes
 |
| Temperature gets down to 120 degrees. |
 |
| Pour 1-2 cups of milk into glass container. |
 |
| Turn oven on to 100. |
 |
| Add 6-8 oz of yogurt. |
 |
| Stir together until smooth and creamy. |
 |
| Pour back into crock pot. |
 |
| Stir until blended well. |
Step 4:
Turn oven off. Wrap crock pot in a large bath towel. Place in oven for 8-12 hours. The longer you leave it set, the tangier it will be.
Time to Allot for Step 4: 8-12 hours or overnight

6-7:00 A.M Step 5.1:
Take your yogurt out of oven. Place it on the counter. Gather your containers that you would like to store your yogurt in. Scoop the yogurt into the containers and store it in the fridge. If this is your last step, I can assure you your yogurt will be quite runny. If you don't mind runny yogurt, you are done!
Time to Allot for Step 5.1: 10 minutes

 |
| The consistency if you stop here. |
IF YOU DO NOT WANT RUNNY YOGURT.....
Step 5.2: (In place of Step 5.1 if you would like thicker/Greek yogurt)
Take your yogurt out of oven. Place it on the counter. Gather your containers that you would like to store your yogurt in. Place cheese cloth or coffee filter in the strainer. (Note: I have not tried this with the coffee filter but know many people who have) I double up my cheese cloth, which means the yogurt is going through 4 layers of the cheese cloth. Place the strainer on top of a bowl. Put a decent amount of yogurt in the strainer and set it in the fridge. I leave mine set for about 2-3 hours. The amount of time you leave it in the fridge all depends on how thick you would like your yogurt. The longer you leave it set, the thicker it will be. Put the remaining yogurt in containers. Repeat this process until all of your yogurt is strained.
Time to Allot for Step 5.2: Depends on how much whey you would like to strain out of your yogurt. I just rotate batches throughout the day.
 |
| Place yogurt on to cheese cloth in strainer. |
 |
| The yogurt will immediately start dripping. |
 |
| And, it will continue for quite a while. |
 |
| Until your yogurt looks thick and creamy! |
 |
| Example of the thickness. |
Note: The 'water' that runs out of the yogurt is called whey. There are many uses for whey, such as adding it to your smoothies, cooking with it, feeding it to particular outdoor plants, etc. Here is a list of 18 different ways to use it that is a bit more extensive: 18 Ways to Use Whey
Step 6:
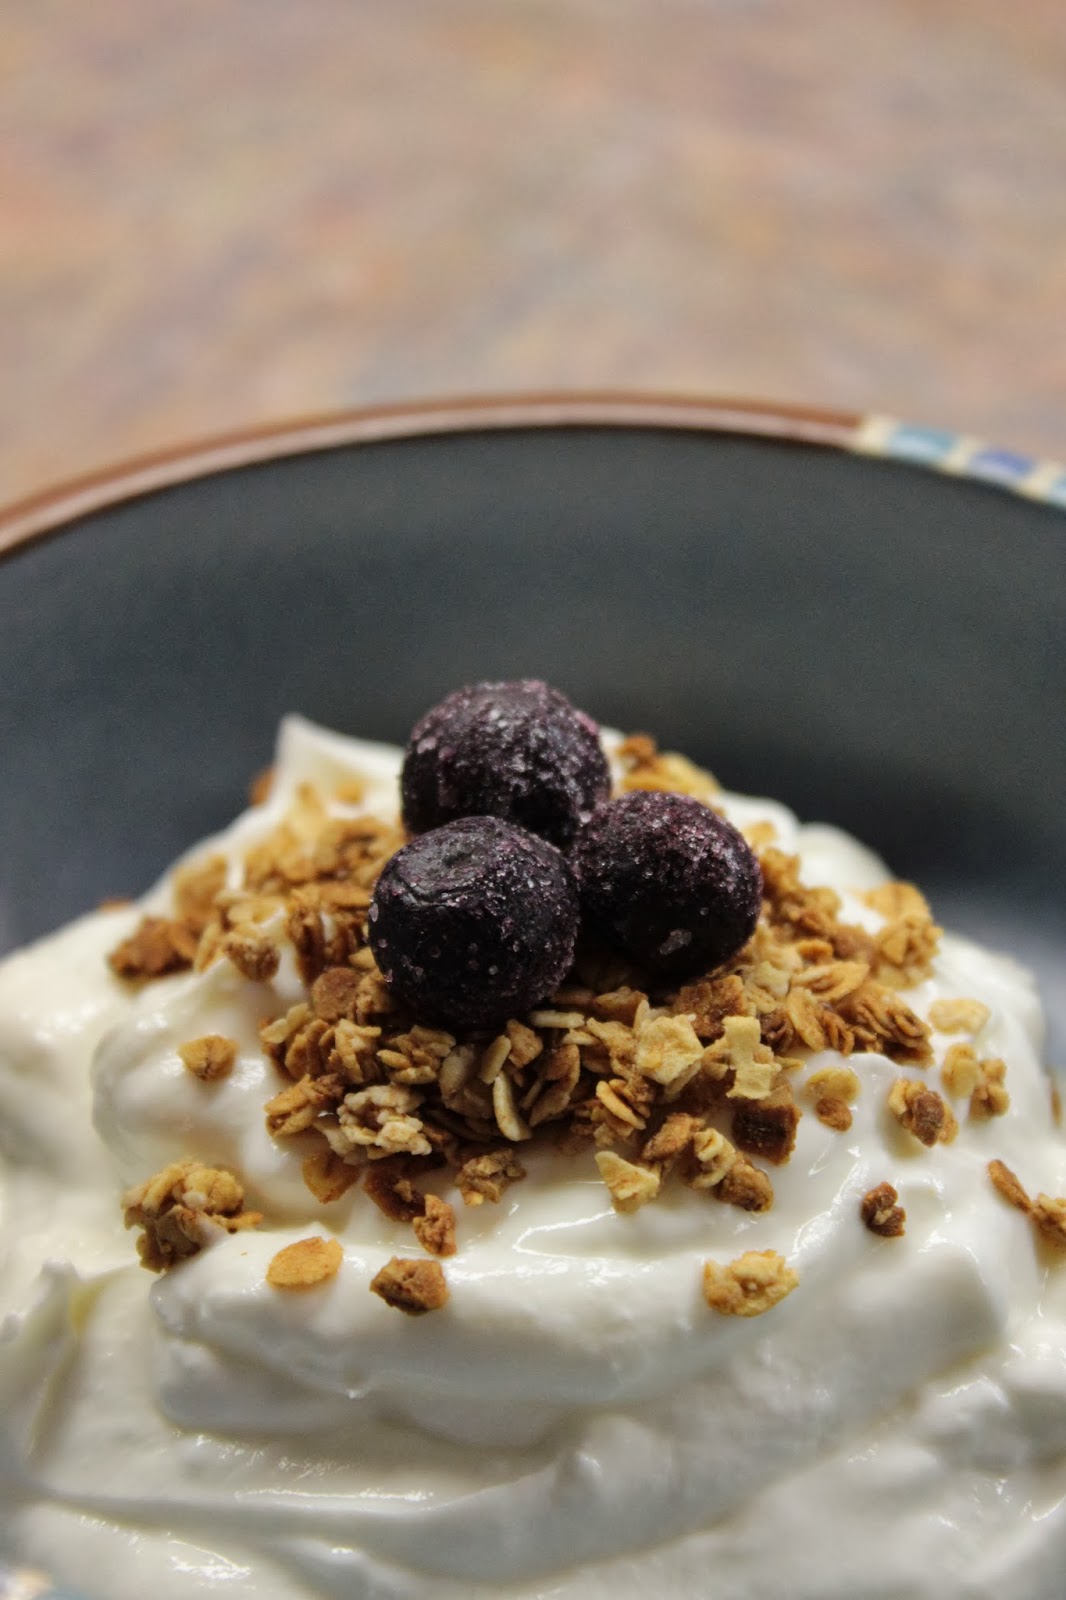
Eat! Enjoy your homemade yogurt or homemade Greek yogurt! Garnish with granola, fresh fruits, or mix in a little bit of jam for flavor.


End Notes:
- Yogurt will last 2 weeks in your fridge.
- 1 gallon of milk makes about 76 oz of Greek yogurt. This all depends how much you strain it. Less straining, more yogurt, but also more whey in your yogurt.
- Total amount of whey that dripped out: 8.5 cups (No wonder I thought it was soupy at first!)
Is it REALLY worth it?
The total time you actually DO something is about 20-30 minutes. The rest is waiting time.
The cheapest place we have found to buy vanilla Greek yogurt is Aldi. It is $3.89 for 32 oz.
We normally buy 2 containers a week = $7.78/week
This means, we would spend $404.56 on Greek yogurt a year.
The cost to make homemade Greek yogurt is the price of 1 gallon of whole milk.
The price range for milk is $3.00-3.19.
The price range for milk is $3.00-3.19.
1 gallon of milk makes 76 oz of Greek yogurt.
If we make 1 gallon of milk/Greek yogurt a week, our year expenses would be $156-165.88.
TOTAL SAVINGS: About $250 a year!
After calculating, I think it's worth it!
If you buy name brand yogurt and buy 10- 6oz containers a week,
your savings would be almost $500 a year!
If you buy name brand yogurt and buy 10- 6oz containers a week,
your savings would be almost $500 a year!
Remember, if you do not strain your yogurt it is not Greek yogurt and these numbers would be different for you.
If you have any questions, feel free to ask!
If you have any questions, feel free to ask!


